


Tint Aftercare and Warranty Information
Window Tint Aftercare
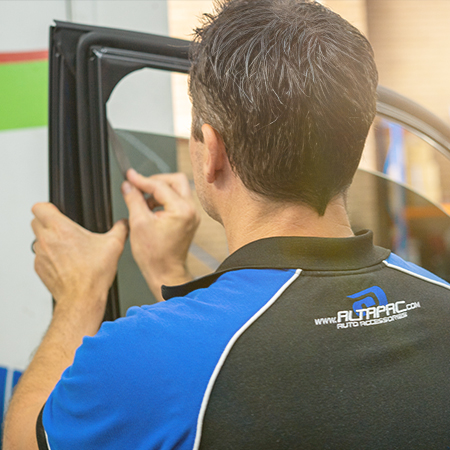
Immediately After Installation
These are the most important steps to ensure your tint cures correctly and lasts for years to come.
-
Keep Windows Up: Leave your windows rolled up for at least 48 hours to allow the film to adhere properly and avoid peeling.
-
Avoid Rear Demister: Avoid using the rear window demister for around 4 weeks, giving the tint time to fully dry.
-
Avoid Extreme Temperatures: While parking your car in the sun will speed up the drying process, it can cause bubbles or peeling. Try to park in the shade on hot days where possible.
Drying Time & Appearance
Crystal Clear for Years
Slight haze and tiny water bubbles under your new tint? No worries—it's all part of the curing process. During installation, a little moisture gets trapped under the film, and that moisture has to evaporate. As it does, you'll see some fogginess or small bubbles that gradually shrink and vanish on their own.
How long that takes really comes down to the weather. In warm, dry conditions, you might notice things clearing up in a few days; in cooler or more humid weather, it can take up to four weeks for the film to fully settle.
While your tint is drying it's easy to move or unseat it. For the first two days, avoid touching it, and for the first four weeks, avoid cleaning it until it's fully cured.
By the 30-day mark, your tint should be crystal clear and firmly bonded to the glass. If you're still seeing bubbling, lifting edges or uneven patches after that, give us a bell—we'll sort it out. Our technicians will hunt down any stubborn moisture pockets, re-seal loose edges, and make sure you're left with a flawless finish.

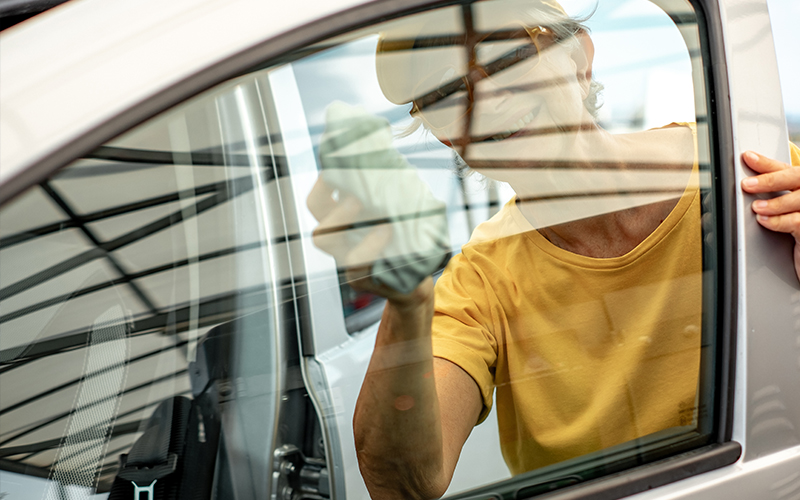
Cleaning Tips
What to avoid:
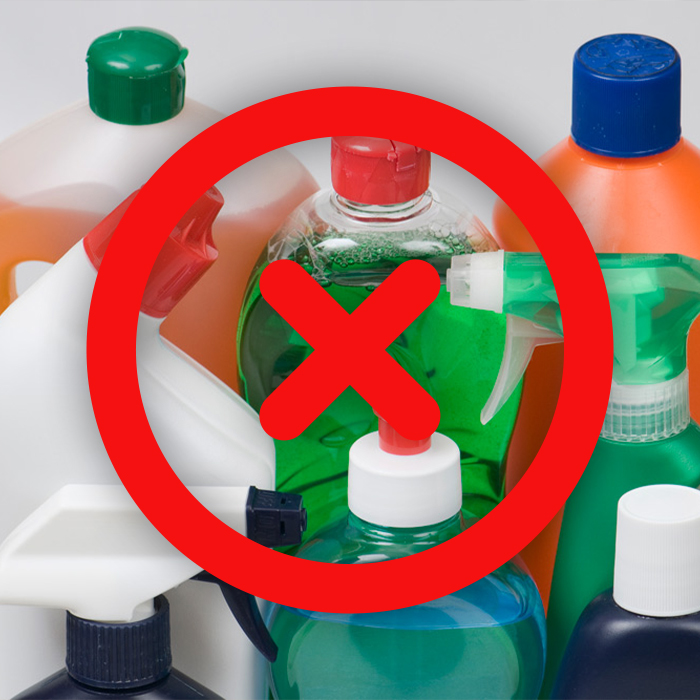
- Steer clear of ammonia-based or harsh chemical cleaners—they can damage the tint in a number of ways.
- Avoid abrasive cleaners like scouring pads, as they can scratch the film.
- Coarse paper towels can scratch even hard-coated films. These fine scratches may be invisible at first but will dull the film's polished look over time.
What to use:

Stick to tint-safe products that say 'Tint-Safe' or 'Ammonia-Free' on the container, along with a soft microfiber cloth.
They clean the glass gently, won't damage the film and leave a flawless, streak-free finish.
DIY option:

A soft microfibre cloth with warm, soapy water does the trick.
A common householder soap like baby shampoo is perfect. Give it a gentle wipe, then dry off with a clean, tag-free microfiber cloth or chamois to avoid any scratches.
Warranty Information
We back our tint for as long as you own your vehicle. If anything goes wrong because of a materials or installation fault, we'll sort it—no dramas.
What's Covered
- Installation: Peeling, bubbling, lifting or other workmanship related issues.
- Material: Fading, discolouration, cracking or delaminating caused by a product or manufacturing fault.
Register your warranty
If you've just got your tint installed, you can register your details below. This will help us keep track of your warranty and ensure you get the best possible service if anything goes wrong.
How to claim
If you've already filled out our warranty registration form, you can give us a call or send us an email with some details about the issue and we'll get you sorted.
If you haven't registered your warranty, we should still be able to help, but we may need to ask a few more questions and you should have your original receipt handy. If you've lost your receipt, we can still help as long as we can match you or your vehicle to the original installation.
